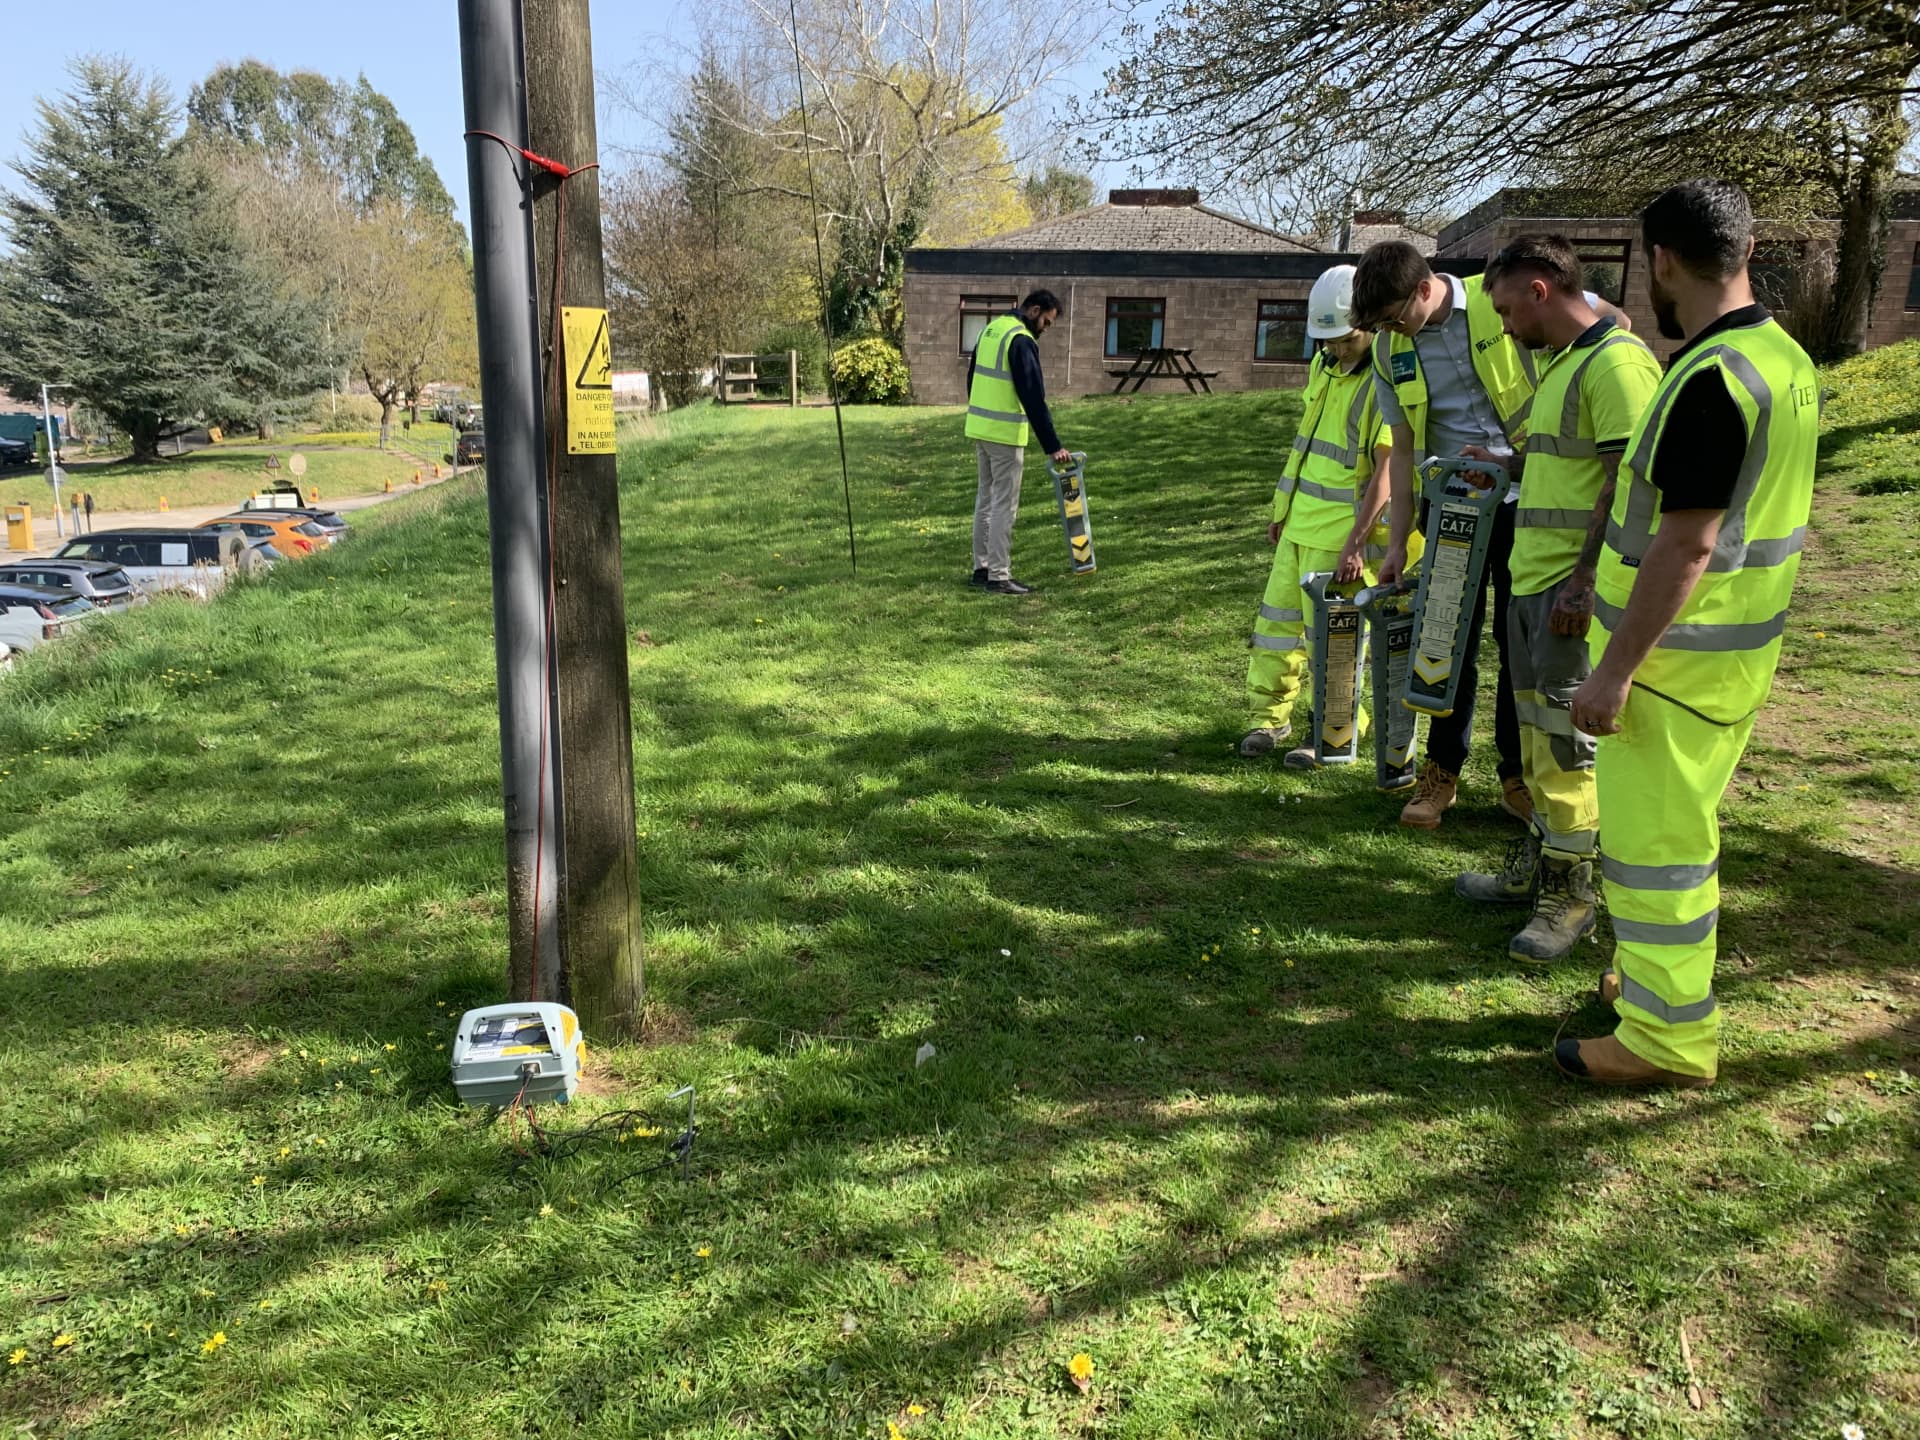
Duration
Two days
Day 1 locate · Day 2 safe dig
Group size
Max 8
Per trainer
Delivery
On-site UK-wide
or our Wigan centre
Qualifications
Two
EUS Cat 1 + EUS Cat 2
Accredited & approved by


Course objectives
By the end of the two days, every delegate can locate, then safely excavate.
The combined course takes an operative from the theory of avoiding buried services all the way to a safely exposed, protected service on a live dig. Its objectives are to:
- ✓Improve awareness of how to avoid damaging buried utilities, and operate in a safe, efficient and more cost-effective manner
- ✓Understand current legislation and HSG47
- ✓Understand roles and responsibilities
- ✓Understand the process of excavating around services
- ✓Be able to plan, identify and detect buried services
- ✓Be able to refer to current guidance and legislation
- ✓Be able to use appropriate excavation tools
- ✓Be able to segregate and store material
- ✓Be able to safely expose and support services
Locate
The full one-day locate course. Classroom theory on the law, the plans and the physics of detection, then more than half the day hands-on across five practical disciplines with a strong Genny-first emphasis — each assessed individually.
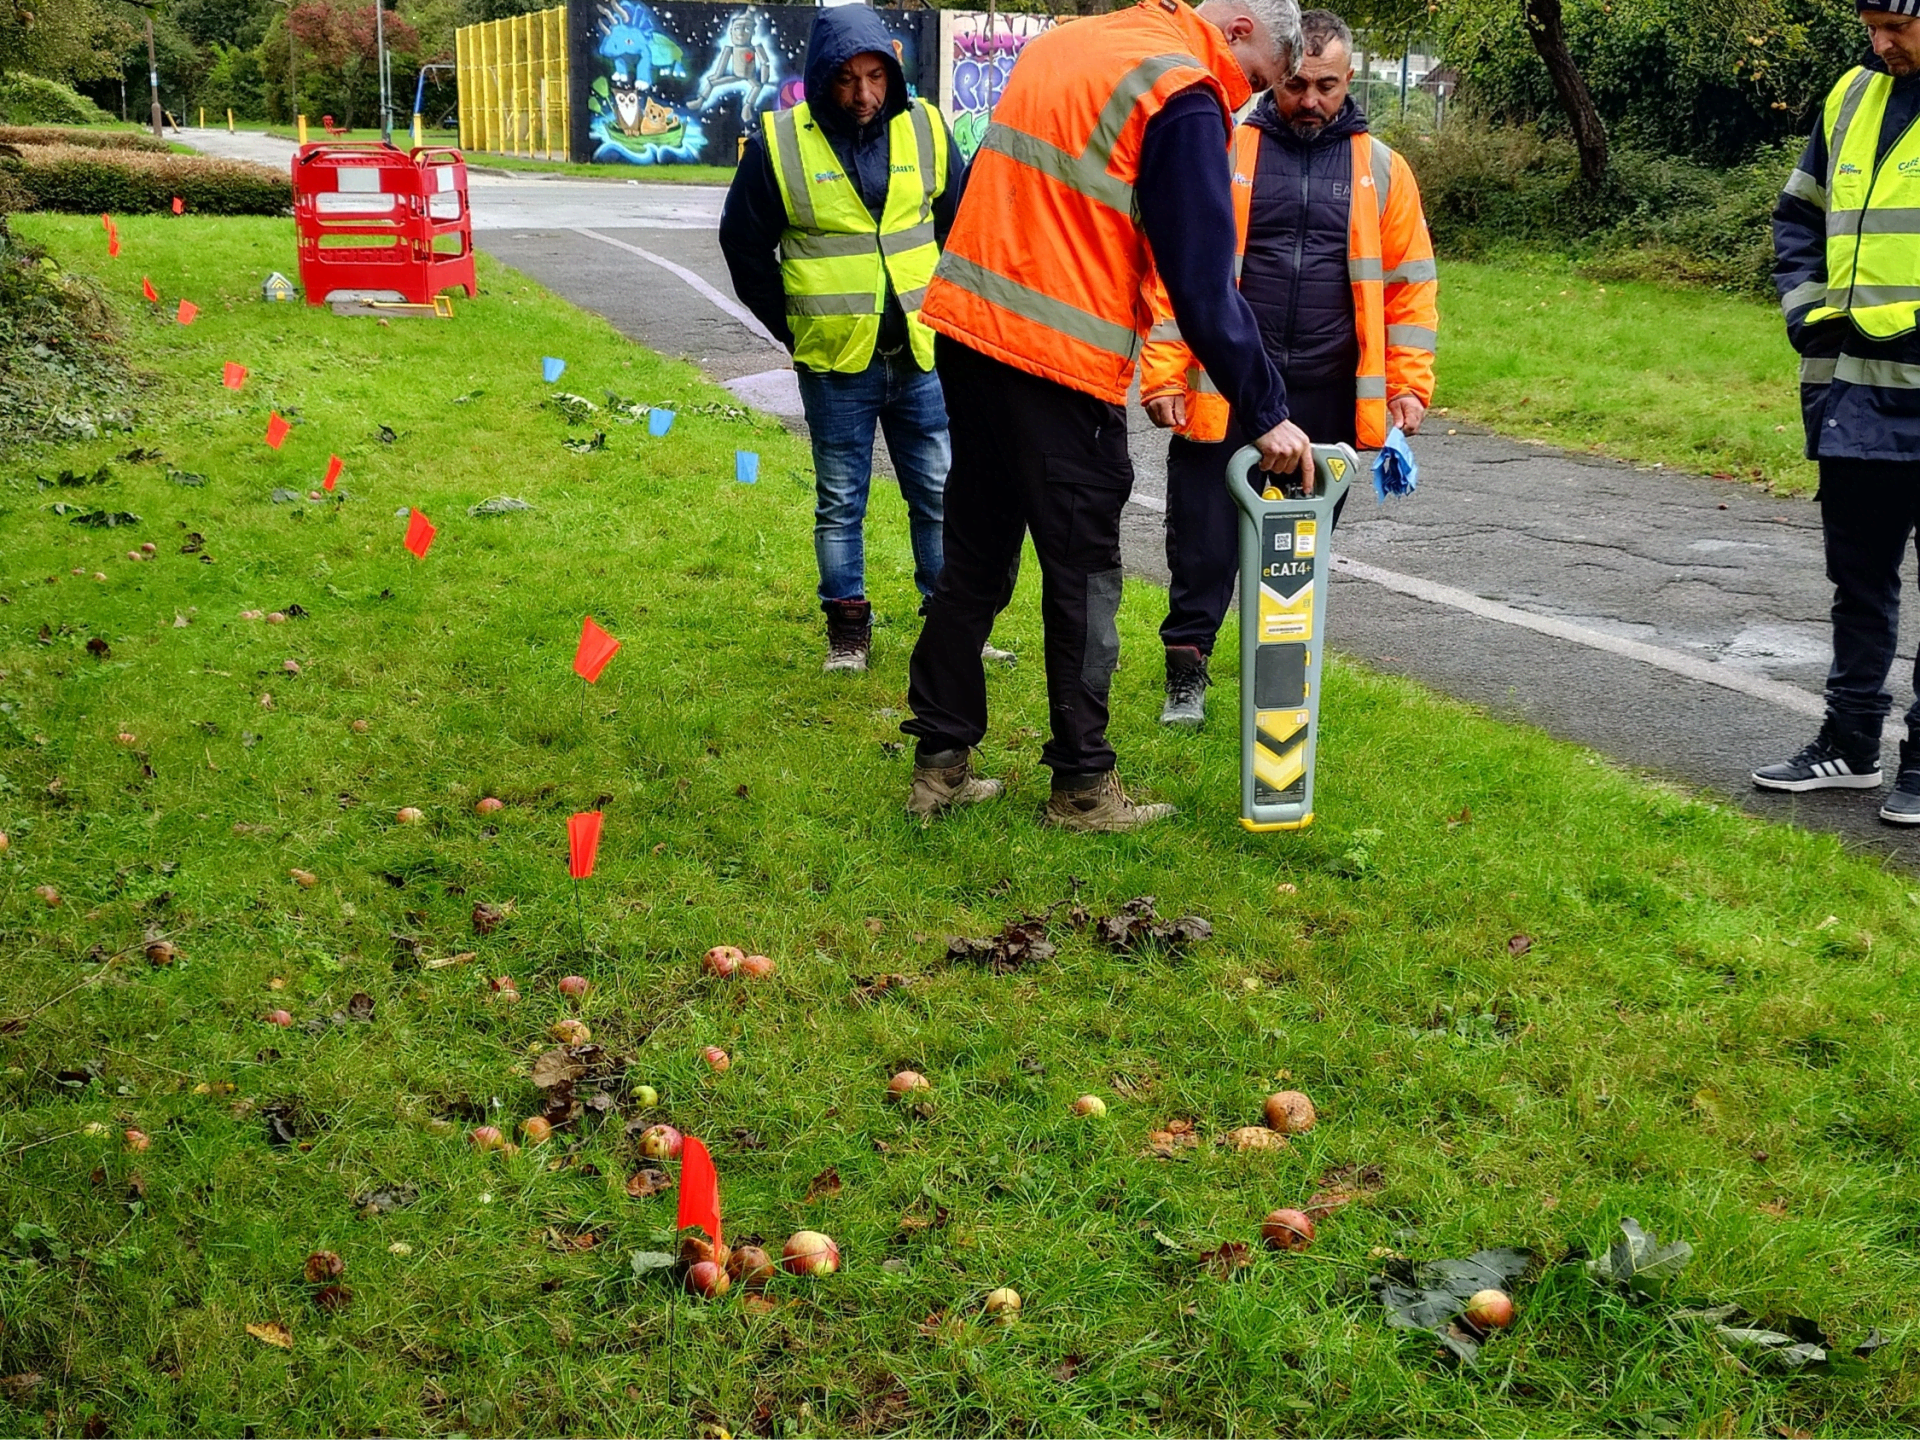
Day one · in the classroom
Theory
The why behind the kit — the law, the plans, the physics of detection, and an honest account of what the equipment can and can't do. The grounding every delegate needs before a single sweep.
Legislation, safety & responsibility
3 topicsWhy we locate before we dig
The reasons for using buried pipe & cable locators, and the health, safety and financial consequences when it goes wrong — with real "getting it wrong" examples demonstrated and discussed.
HSG47, legislation & company policy
How to comply with HSG47 (Avoiding Danger from Underground Services), the other national legislation that applies, and the company policy documentation that sits around it.
Understanding a permit to dig
What a permit to dig is for, what it does and does not authorise, and where it sits within a safe system of work.
Plans & drawings
2 topicsReading Buried Service Plans (STATS)
Interpreting the different types of utility service plan, including their keys and symbols — and what they do, and don't, tell you about the ground beneath your feet.
PAS128 drawings & surveys
How to read PAS128 drawings, and the important difference between a PAS128 survey and a Utility STATS plan.
The science of detection
2 topicsElectromagnetic theory
How pipe & cable locators actually work — the underlying theory, the real-world limitations, and the practical tips and tricks that only come with experience.
Myth busting
A dedicated session on what the equipment genuinely can and cannot locate, so delegates leave with realistic expectations of the kit rather than false confidence.
Recorded data (optional)
1 topicData logging & C.A.T. Manager
Using C.A.T. Manager software to download and analyse recorded locator data, so usage can be reviewed and evidenced — C.A.T.4 specific.
Day one · on the ground
Five disciplines, assessed individually
More than half the day is hands-on. Every delegate is trained and assessed on each of the following — strong emphasis throughout on Genny use and the Genny-and-CAT combination.
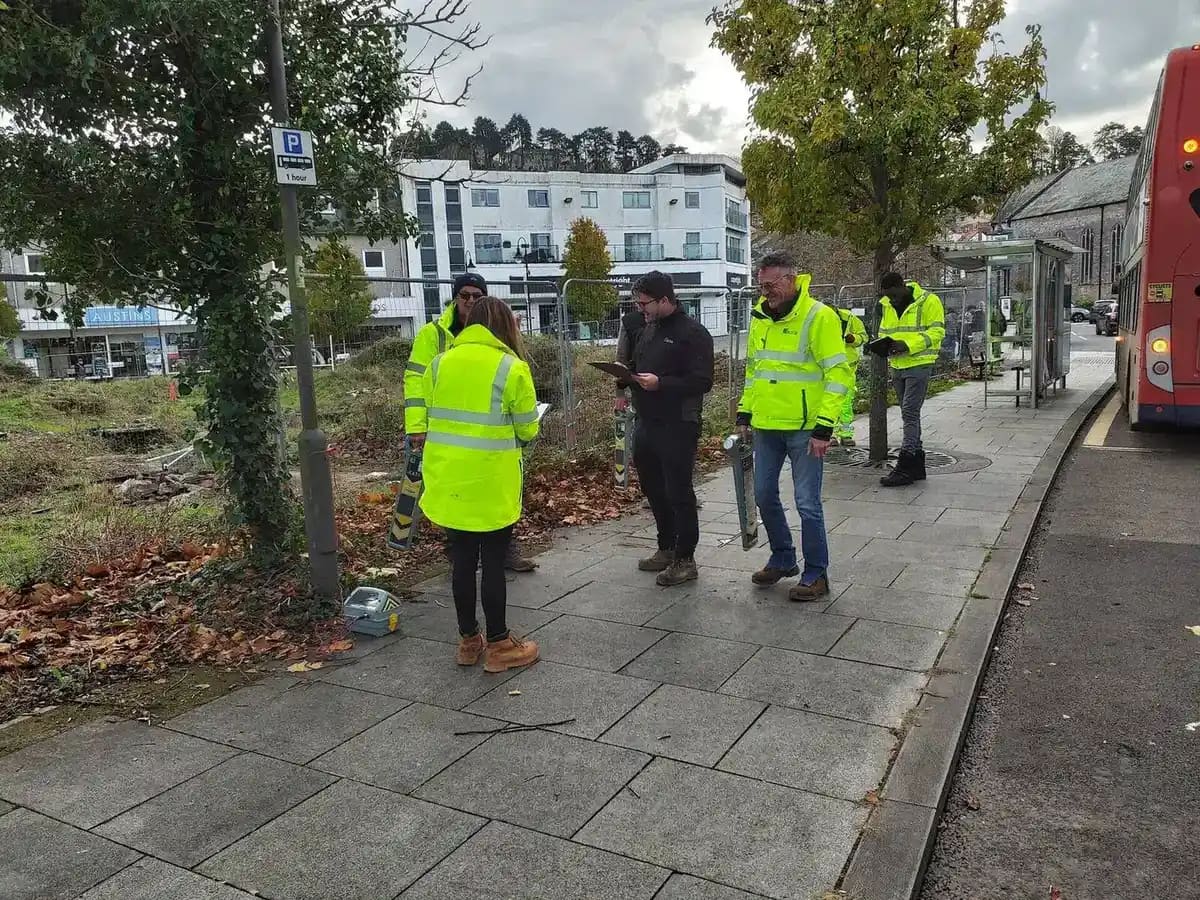
Pre-survey
Before a single sweep, delegates learn to read the ground from the plans and prove the kit is fit to use.
- Read utility plans from all providers, including keys and symbols
- Complete a visual survey alongside the plans, spotting surface indications of services
- Pre-use equipment checks — function check and in-service date check
- Understand the limitations of electromagnetic locators
- Plan the survey using the Genny and CAT based on the site
- Understand a permit to dig
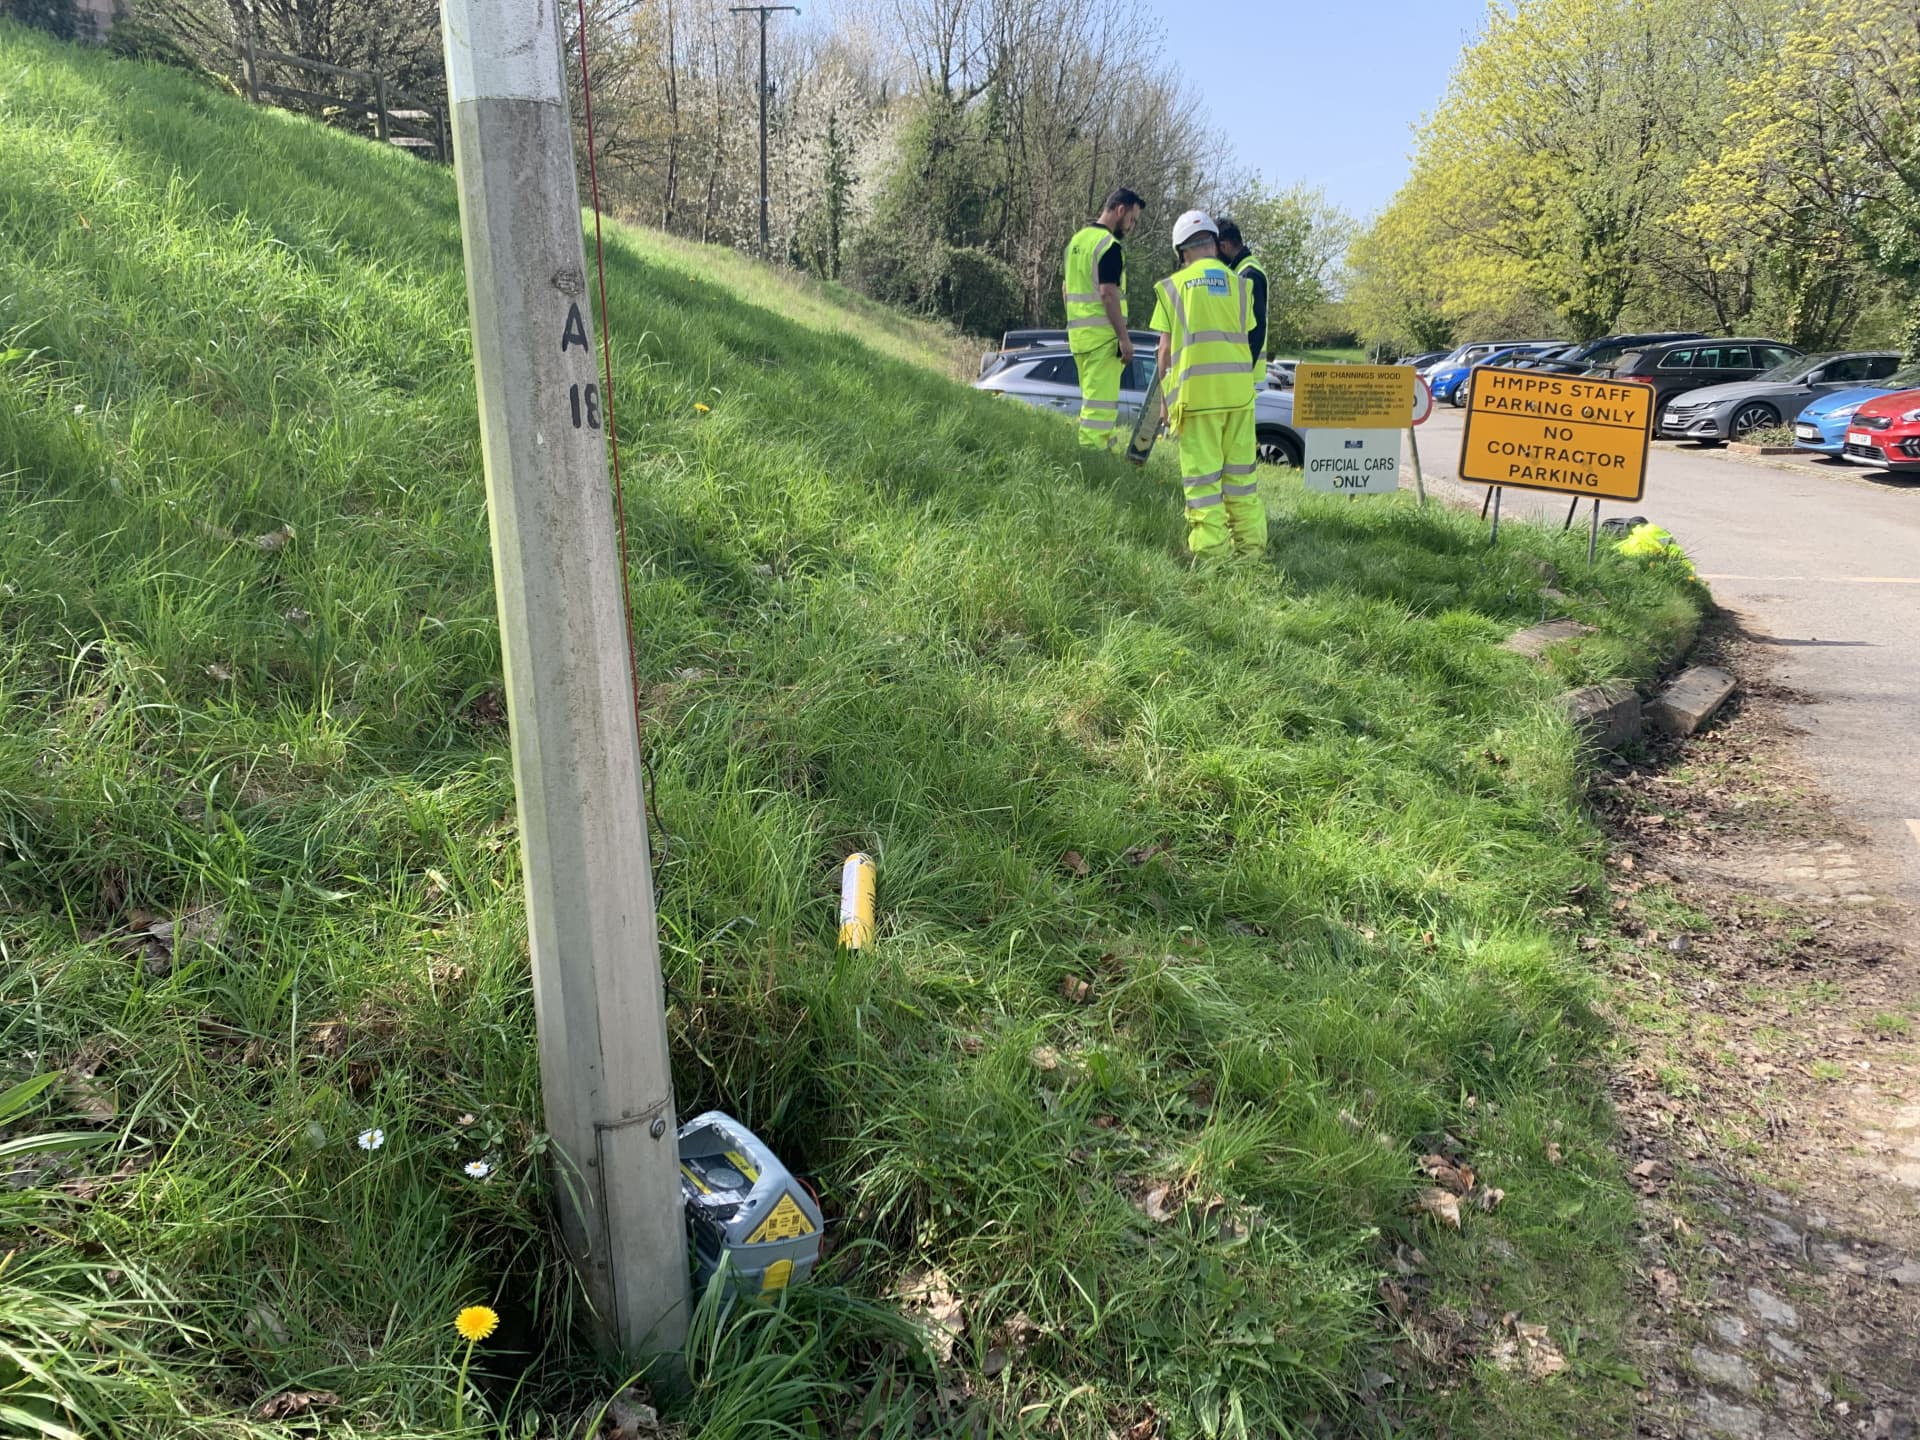
Transmitter (Genny) applications
The heart of the course. Every way to apply a signal — and how to confirm it has actually taken.
- Direct connection to a known utility; correct earthing; confirm the connection and signal
- Signal to a street-light cable via direct connection, correct technique and distance
- Signal to a domestic LV service at a property or building
- High-frequency signal using a capacitance technique
- Signal applied using the signal clamp, correct technique and distance
- Induced signal to a known target, correct technique and distance
- Blind induction sweep in two directions across a site
- Null out a buried utility
- Check for airborne signal in all inductive applications
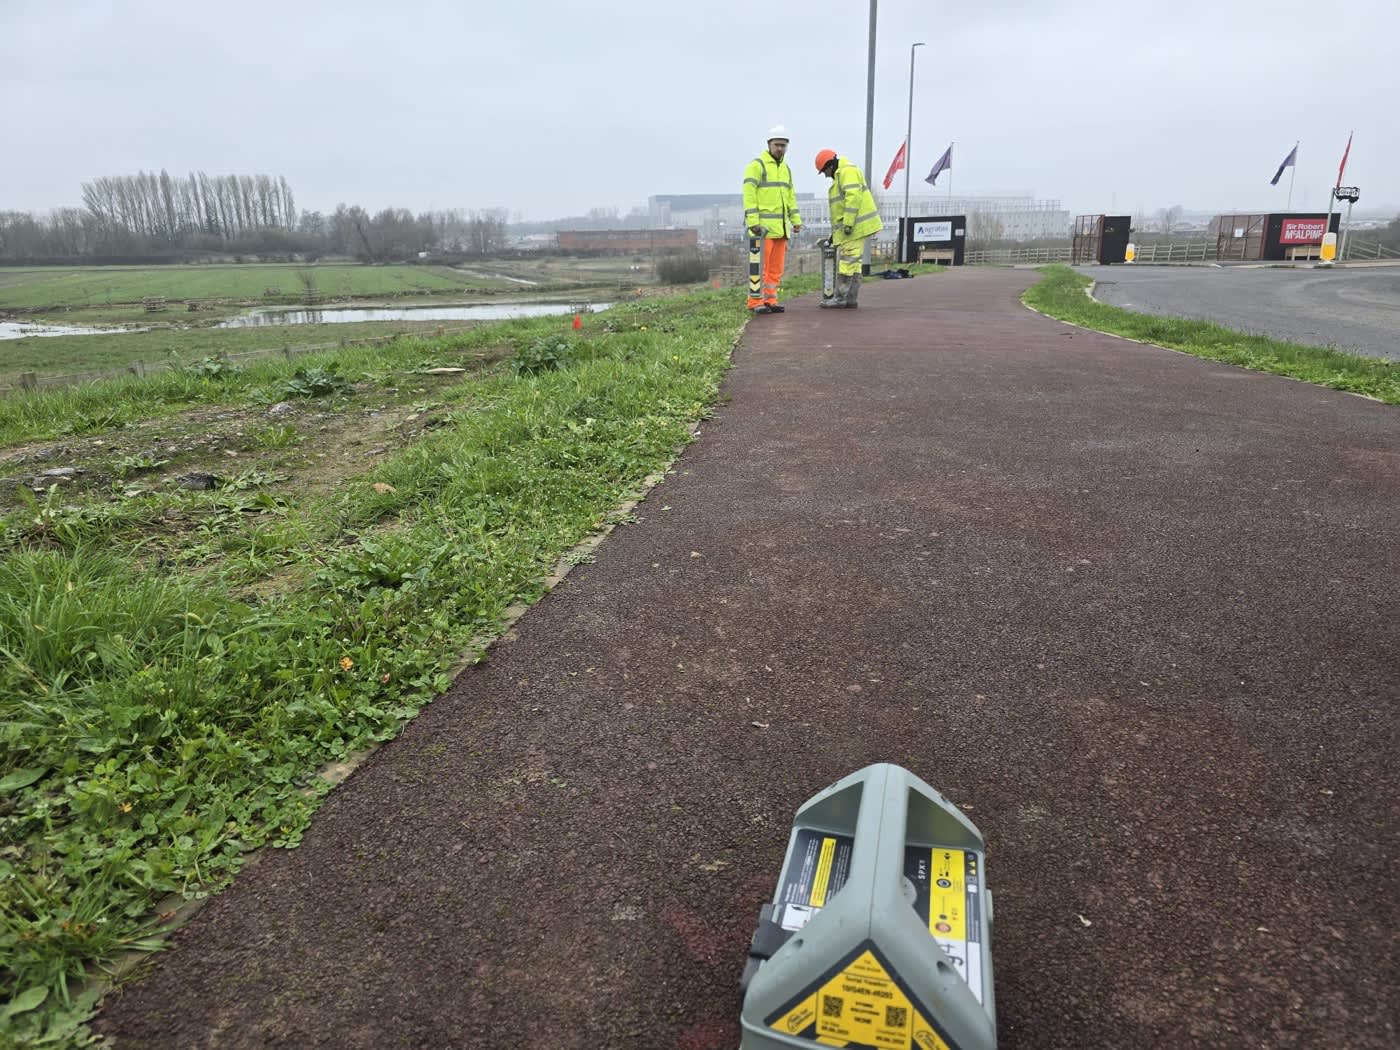
Locating — pinpointing & tracing
Turning a signal into a marked, traced, depth-checked line on the ground.
- Control sensitivity to locate then pinpoint the utility
- Determine direction, trace using the correct technique and mark its position
- Identify sudden signal loss and explain why it can occur
- Locate a joint — T-connection / bend
- Recognise being too close to the transmitter; correct erratic sensitivity
- Depth estimates at the correct distances; know when depth is unreliable; check it two ways
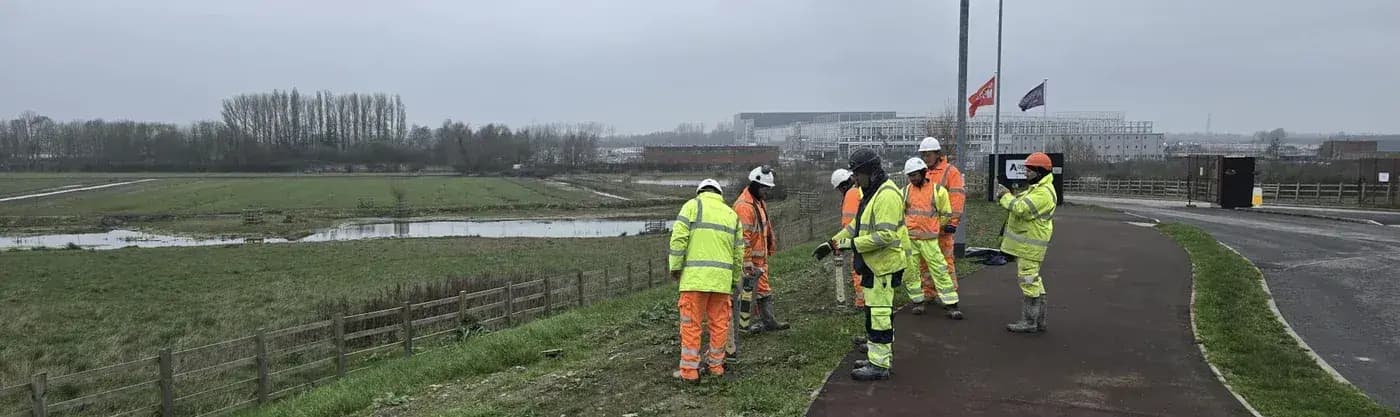
General technique & strategy
The judgement that separates a competent operative from a button-pusher.
- Use the plans to apply the transmitter signal in the best place throughout the survey
- Limitations of locating HV cables, and inducing a signal to find them
- Transmitter first — exhaust all connection options before induction, all active before passive
- Dual-frequency transmitters — the benefits of both frequencies
- Limitations of induction (the signal is not "selective"); when to run a blind sweep
- Continuously scan as the excavation progresses, and why
- Strike Alert — uses and how to disable
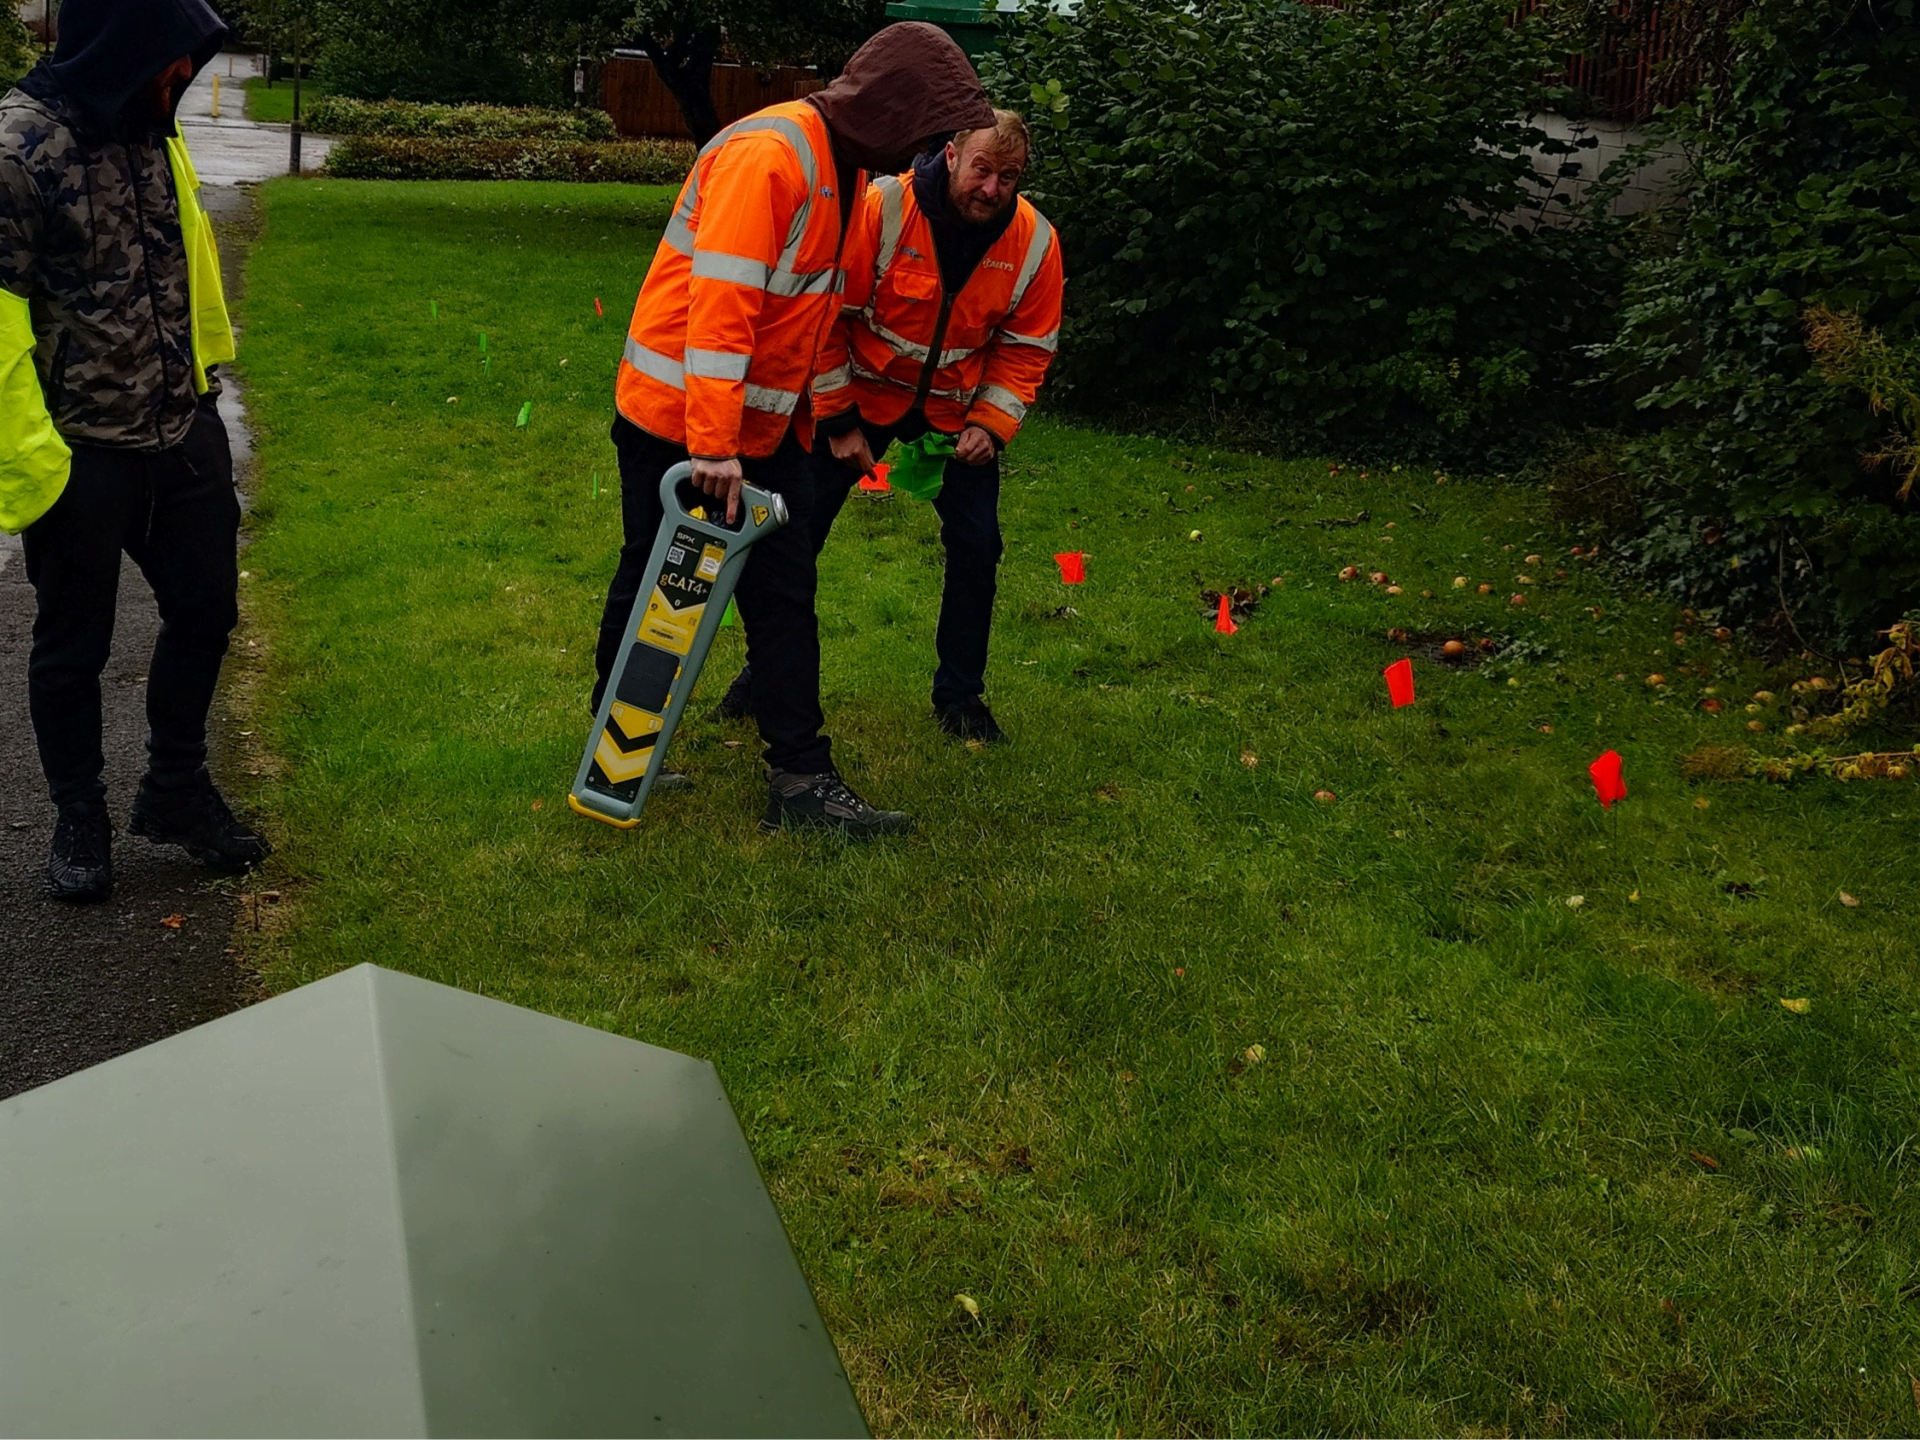
Passive (Power & Radio)
Catching what an applied signal can't — power and radio passive detection, done correctly.
- Power survey using the sensitivity control appropriately and the correct search technique
- Radio survey using the sensitivity control appropriately and the correct search technique
Safe dig
From the marked line to the exposed service. Safe digging theory in the classroom — legislation, health risks, hazards and technique — then the assessed live dig, where every candidate excavates to and exposes a real buried service.
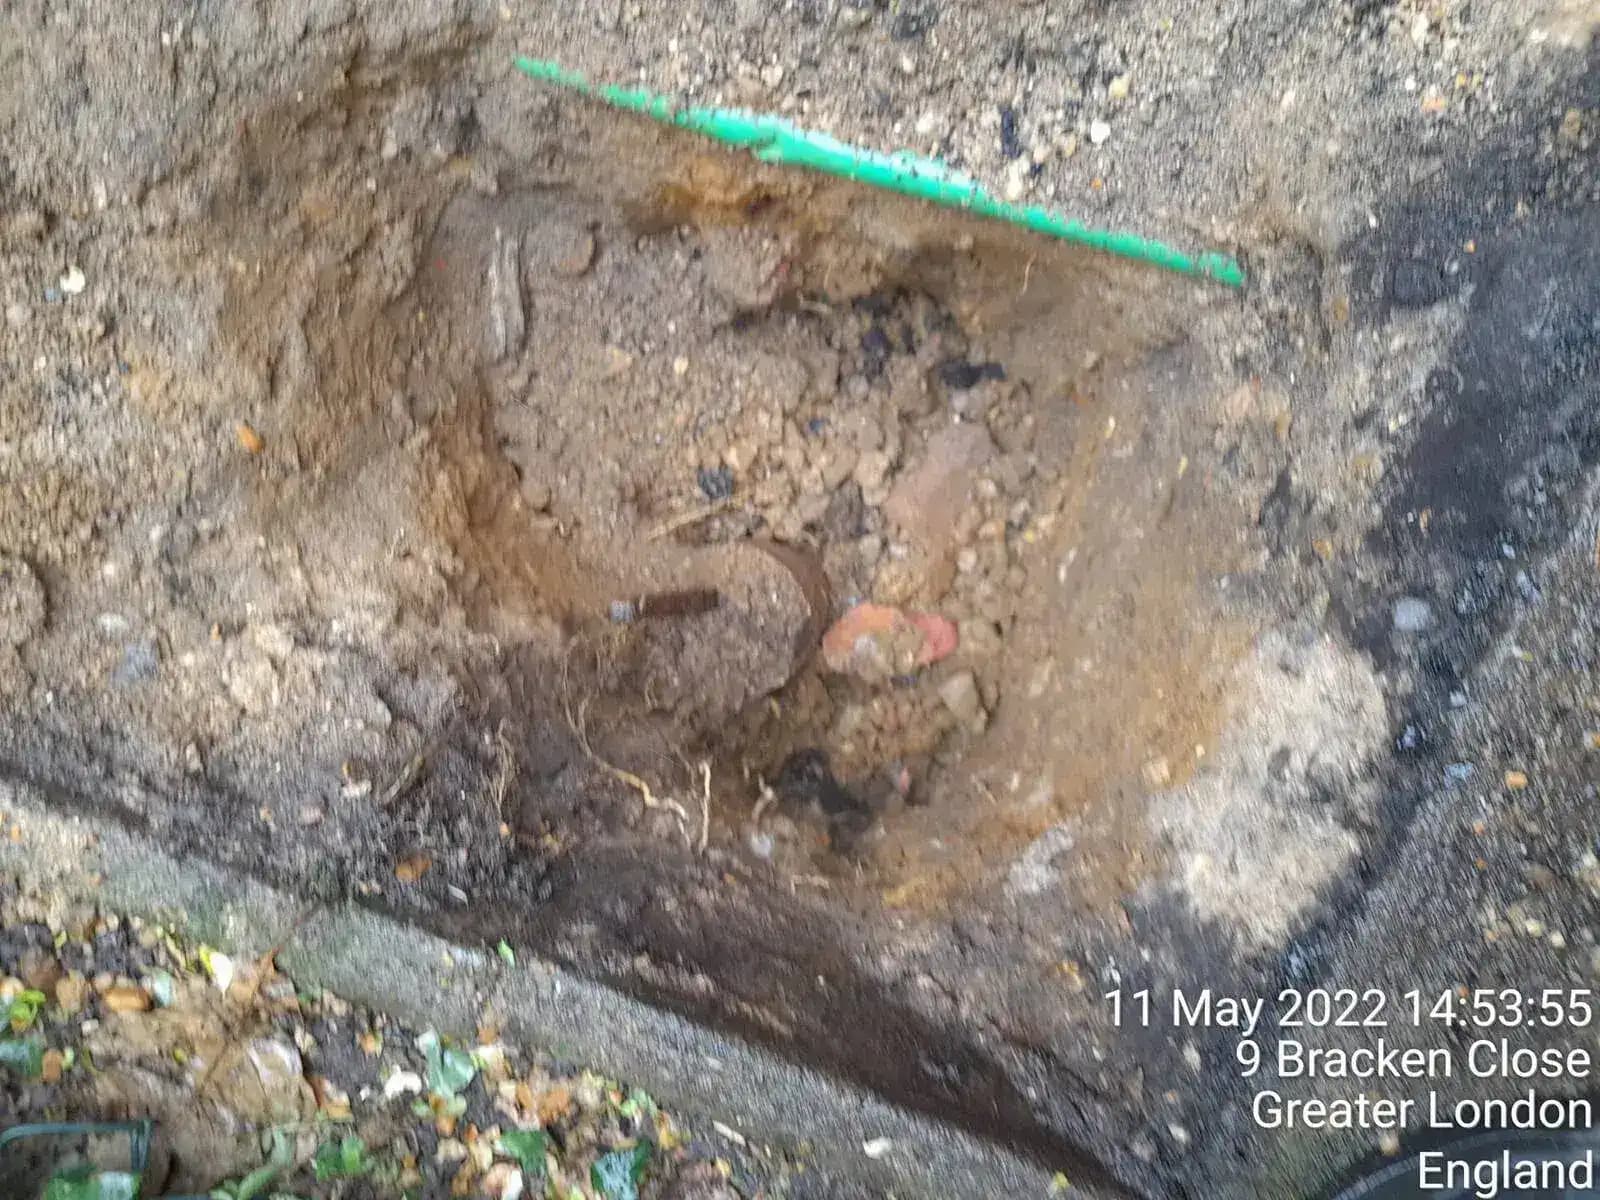
Day two · in the classroom
Theory
The law, the plans, the ground and the tools — everything a delegate needs to understand before the dig, taught with real strike examples and an honest account of what goes wrong when it's done badly.
Legislation, safety & responsibility
4 topicsLegislation & guidance for buried services
HSG47 (Avoiding Danger from Underground Services), GS6, and the wider legislation that governs excavation work — and what it demands of every operative who breaks ground.
Risk assessments, procedures & permits to dig
Site-specific risk assessments, company procedures and the permit to dig — what each one is for and how they fit together into a safe system of work.
Occupational health risks
The health hazards that come with excavation work — Leptospirosis, asbestos, silica dust, noise and vibration — and how to manage them.
Excavation hazards
Loose ground, made-up ground, groundwater and stored materials — recognising the ground conditions that make a dig dangerous before anyone is in it.
Plans, checks & locating
3 topicsUtility plans — interpretation & limitations
Reading buried service plans, understanding their keys and symbols, and knowing exactly what they do and don't tell you about the ground.
Visual checks
Reading the site itself — the surface indications, markers, signs and features that reveal services the plans may not show.
Detecting & marking underground services
Using locating equipment to confirm and mark service positions before any ground is broken.
Safe excavation practice
4 topicsExcavating around services
The safe digging practices that HSG47 requires when working near buried services, from the first cut onwards.
Using hand tools
The right hand tools for the job, used with the correct technique — and how to care for and maintain them.
Using handheld power tools
Where handheld power tools can and cannot be used near buried services, and the safe technique when they are.
Horizontal excavation
Digging horizontally beneath a remaining surface to approach a service safely — the technique at the heart of the safe dig.
Exposing & protecting services
3 topicsExposing services
Approaching, exposing and confirming a buried service without damaging it — including what to do when what you find doesn't match the plans.
Trench support & excavation safety
Maintaining the safety of the excavation itself — support, safe entry and exit, and keeping the dig safe as it progresses.
Dangers of using services as handholds
Why exposed services must never be used as handholds or footholds, and how to protect and support them while work continues.
Day two · on the ground
The assessed live dig
Every candidate plans and carries out a real excavation, exposing a real buried service — assessed by the trainer through the entire process, from permit to reinstatement.
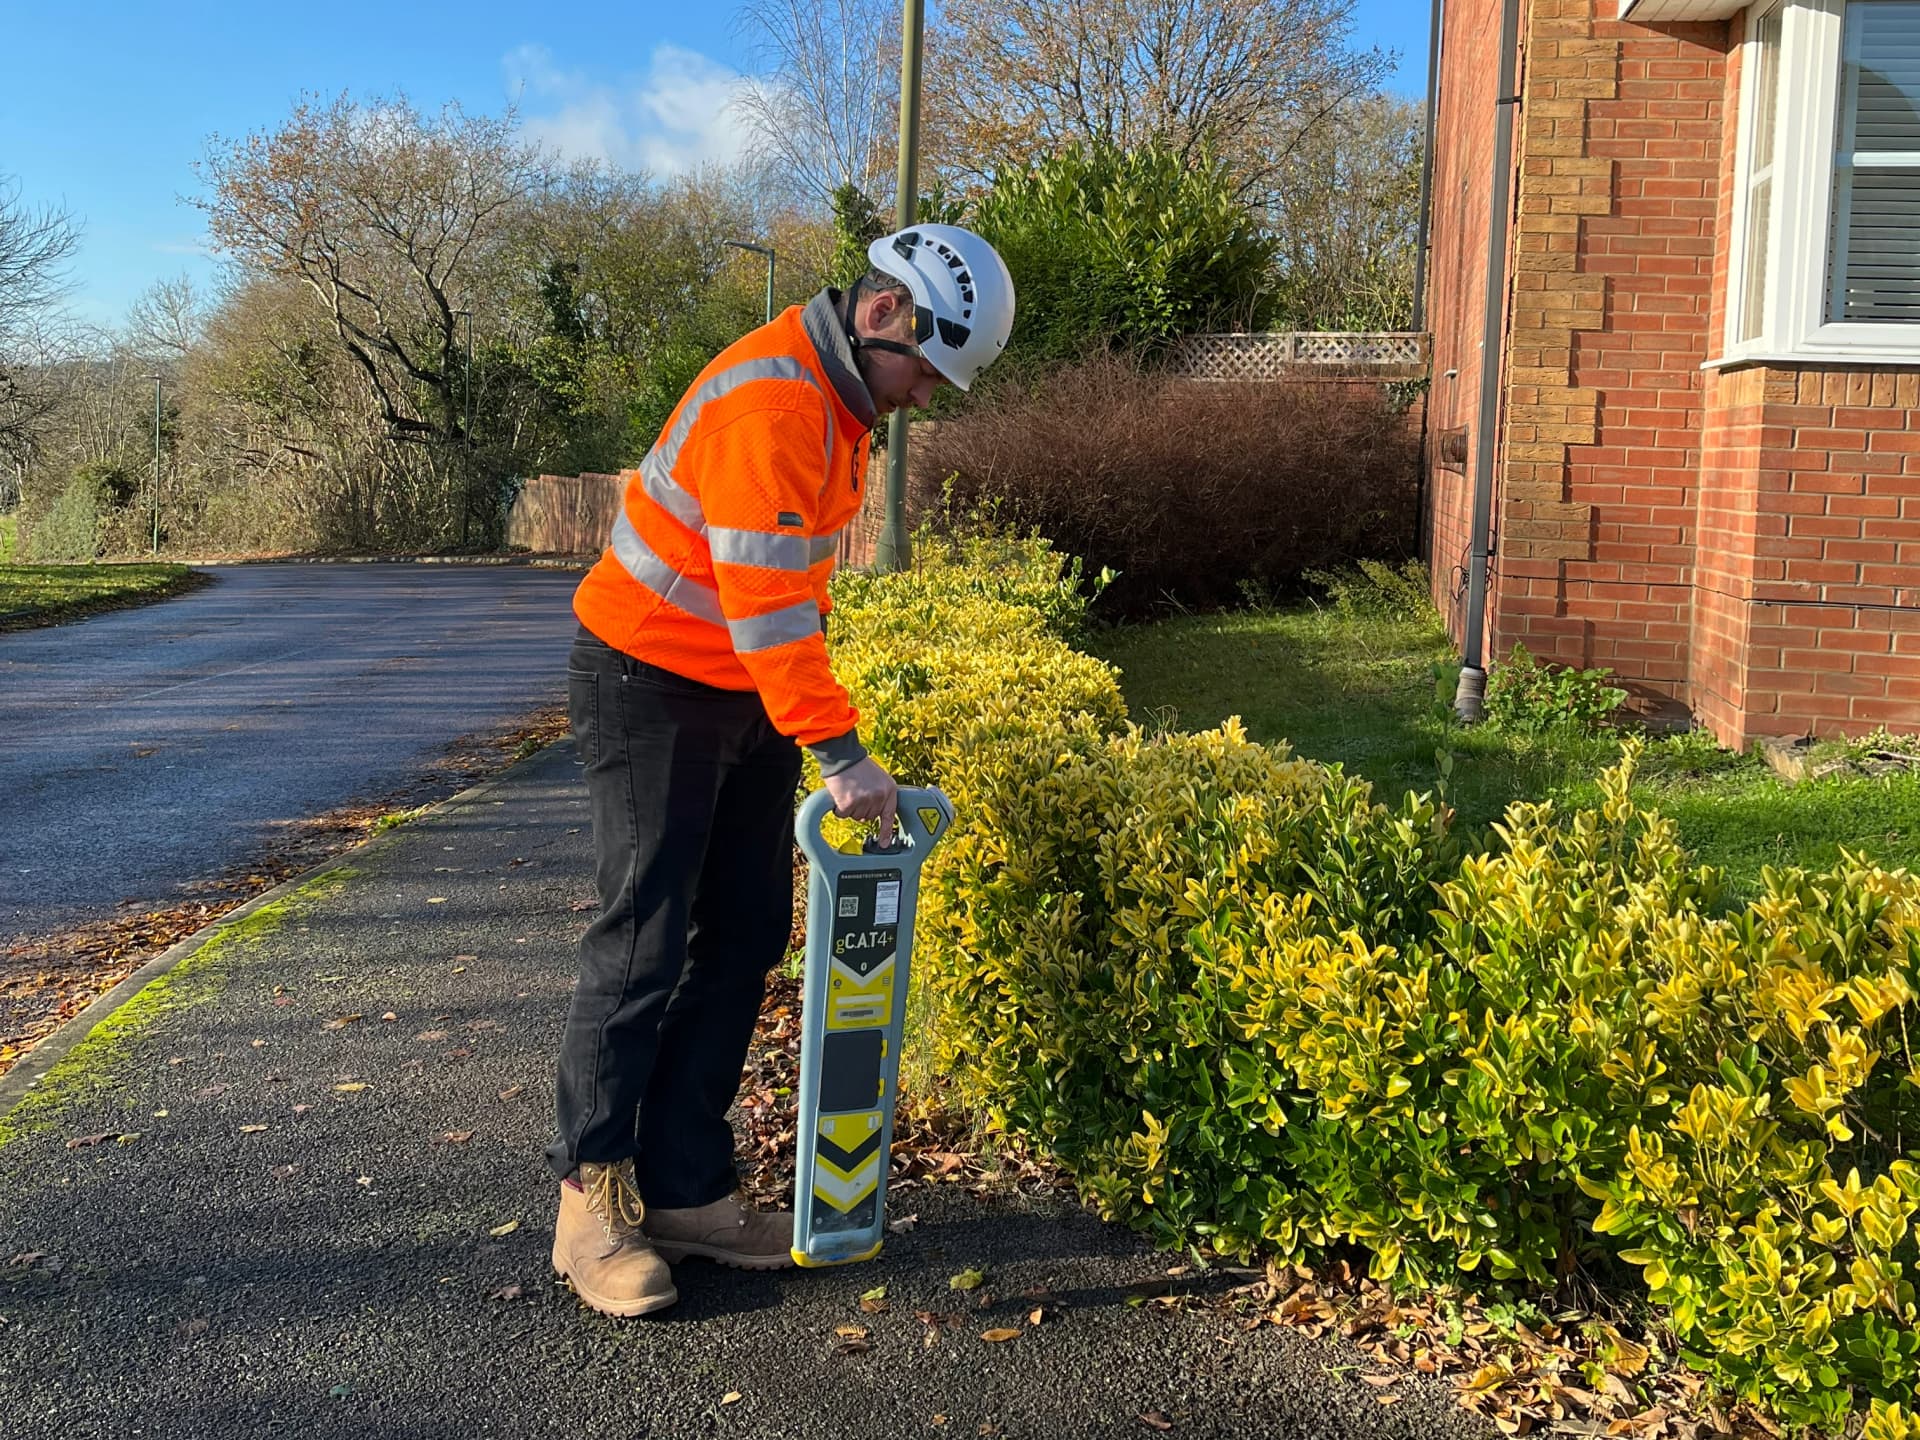
Plan & prove
The dig starts on paper. Every candidate plans their excavation and proves where the services are before breaking ground.
- Complete the risk assessment and permit to dig
- Use service plans and existing site information to establish the indicated routes of buried services
- Confirm service locations with locating equipment
- Mark positions and confirm the position and size of the excavation against the work instruction
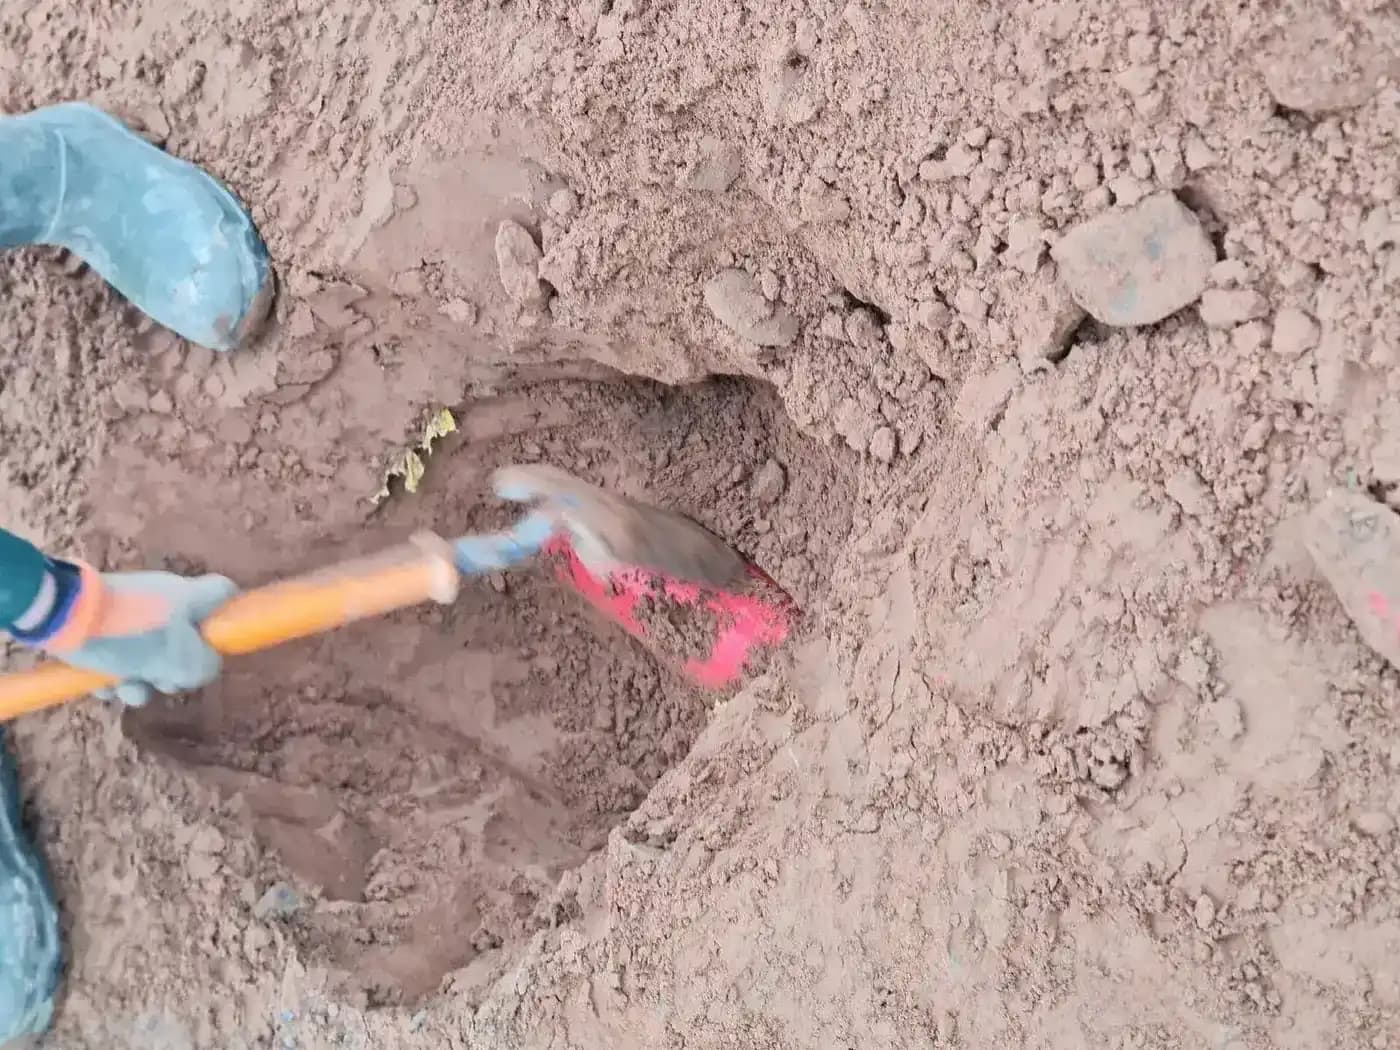
The safe dig
The core of the assessment — a real excavation in real ground, using safe digging practice throughout.
- Commence the safe dig operation with services marked
- Remove the surface, taking the position of services into consideration
- Excavate to 500mm using the appropriate tools and safe digging practice
- Dig horizontally below the remaining surface to expose the indicated service
Expose, protect & reinstate
Finding the service is not the end of the job — protecting it and leaving the site right is part of the assessment.
- Expose the service and support it where necessary
- Monitor and maintain the position and condition of services throughout
- Complete the reinstatement
- Candidates are assessed during the entire excavation process
What delegates leave with
Two EUSR-registered qualifications
Successful completion of both days' written and practical assessments leads to EUS Category 1 (Locate Utility Services) and EUS Category 2 (Implement Safe Digging) — both recorded on the EUSR database.
EUSR registration
One registration covers both categories
When the two days run back to back, the combined course carries a single EUSR registration of £34 + VAT per person, covering both Category 1 and Category 2 — charged alongside the course fee. If the days are split, each day is treated as a separate course with its own £34 registration. EUSR registration is valid for 3 years.
On the days
What the two days need
Sygma bring the trainer, the locating equipment and the expertise. To run a full, properly-assessed two days, the host provides:
- ✓STATS plans (buried service drawings) appropriate to the site for the practical work. If none exist, Sygma can supply them for an agreed cost before booking. If different sites are used, further plans are required.
- ✓Ideally each delegate brings their own location equipment. Sygma bring enough C.A.T.4 and Genny4 to run a standard course; for non-C.A.T.4 kit, delegates bring their own at a minimum ratio of 1 locator per 3 people.
- ✓Suitable on-site parking. Trainers usually drive transit-sized vans (high vehicles); tell us in advance if there are barrier or height restrictions.
- ✓A meeting/conference room that comfortably seats all delegates and the trainer, with welfare facilities and a wall or screen to project onto. Our Wigan training centre can be used instead at no extra cost.
- ✓Enough desk space per delegate for notes and the written exam.
- ✓Appropriate PPE to comply with national and company health and safety requirements.
- ✓A practical area with numerous buried metallic utilities, near the meeting room (one power cable to a cabin is not enough). Sygma can advise on suitability or arrange specific sites.
- ✓The host is responsible for the risk assessment of the site and training room, and for briefing the trainer on any risks.
- ✓Government photographic ID per delegate.
- ✓A live dig area to conduct the safe dig element on day two.
The safe dig element cannot run unless the dig area meets these:
- A dig site available near the meeting/conference room
- A detectable underground utility
- An open area, 10m squared
- Ground suitable for a hand dig
- Full buried services plans
- Delegates must have FR PPE and insulated digging tools
Better again, and what we would ask for wherever possible:
- Dig area on the same site as the training
- Multiple detectable underground utilities
- An open area, at least 15m squared
- Ground suitable for a hand dig
- Full buried services plans
- Delegates must have FR PPE and insulated digging tools
- A method statement specific to excavating trial holes for the site, on arrival
- A risk assessment in place for a trial hole, on arrival
- A permit to dig in place for the trial hole, on arrival
The training will not take place unless the minimum requirements are met. If a suitable dig area isn't available on site, talk to us early — we can advise on suitability or arrange a site.
Assessment
Each day carries a multiple-choice written assessment plus a practical assessed individually by the Sygma trainer — the locate practical on day one, and the live dig on day two, where candidates are assessed through the entire excavation process. Delegates with dyslexia or reading difficulties may sit an oral assessment.
Accreditation & standards
EUS Category 1 & Category 2
Locate Utility Services and Implement Safe (Digging) Excavating Practices — the industry-agreed standards for safely detecting and excavating around buried services. Derived from National Occupational Standards and HSE guidance:
Next step
Arrange this course or check dates
On-site UK-wide or at our Wigan centre. Send us your numbers and location and we'll come back with dates and a price.